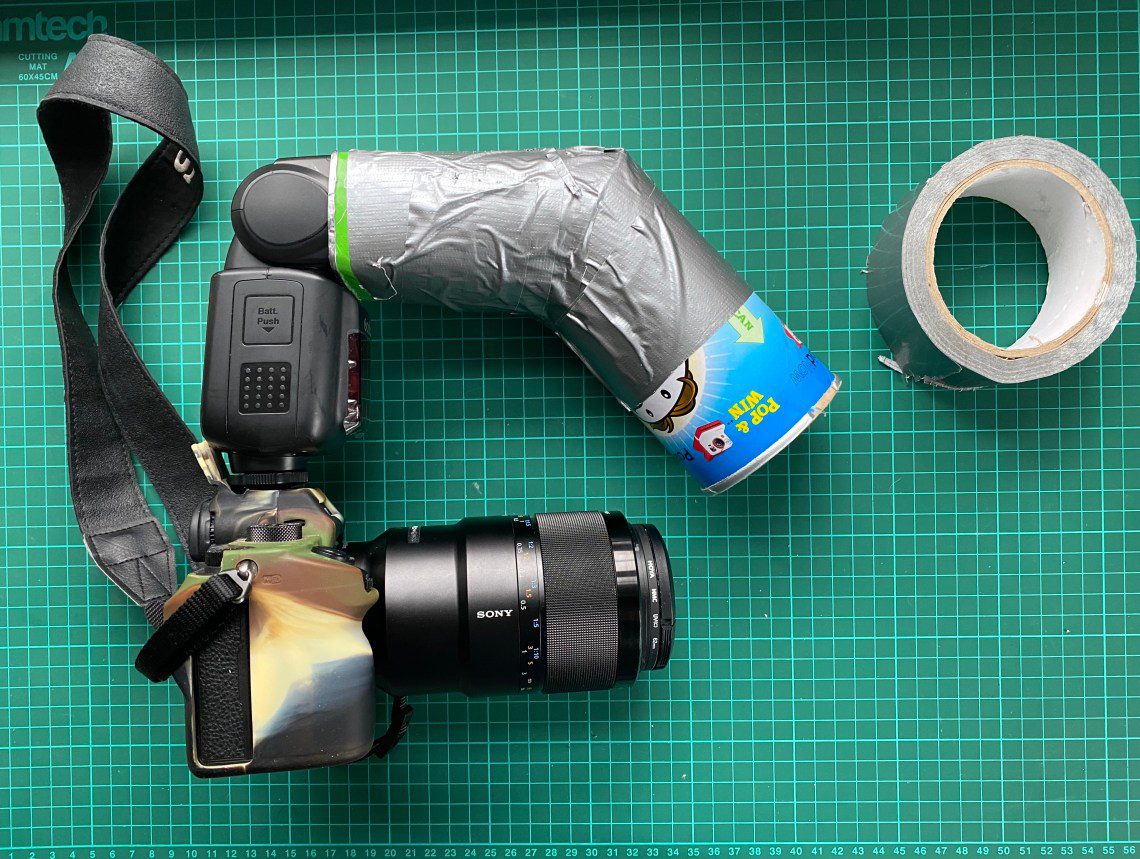
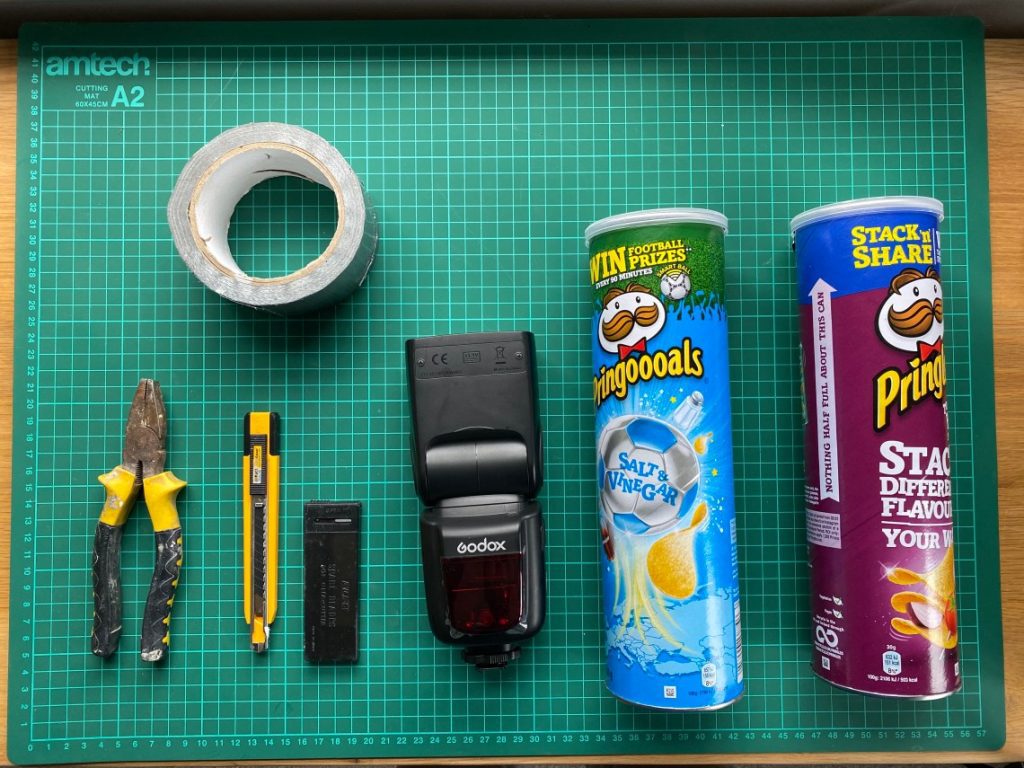
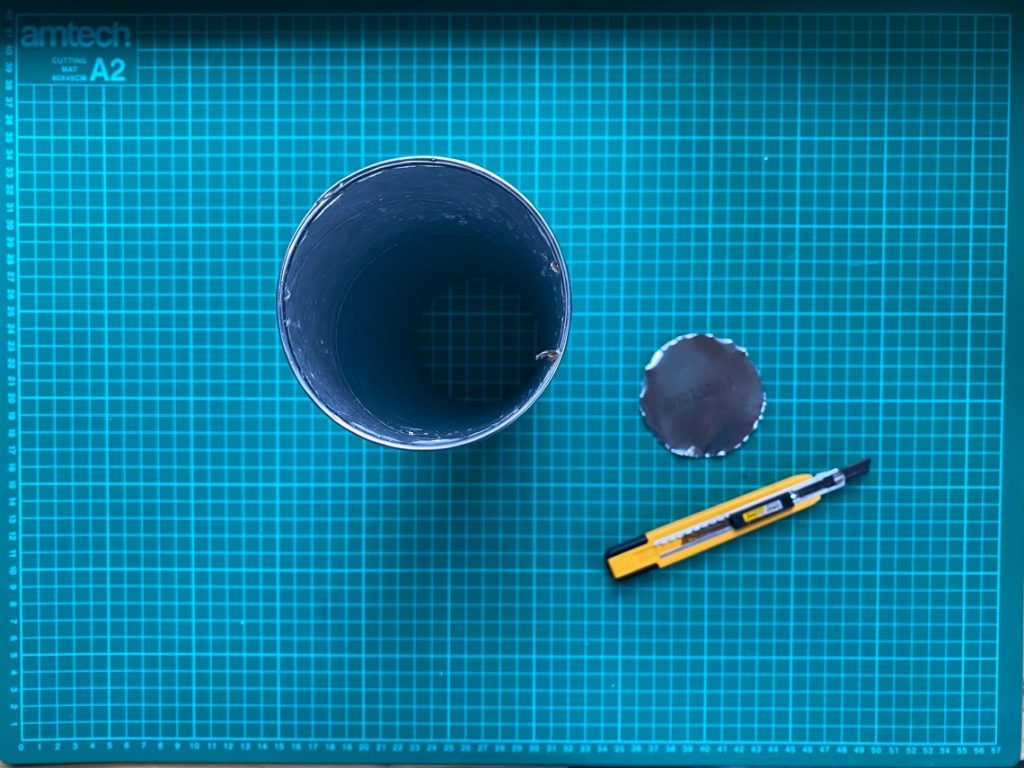
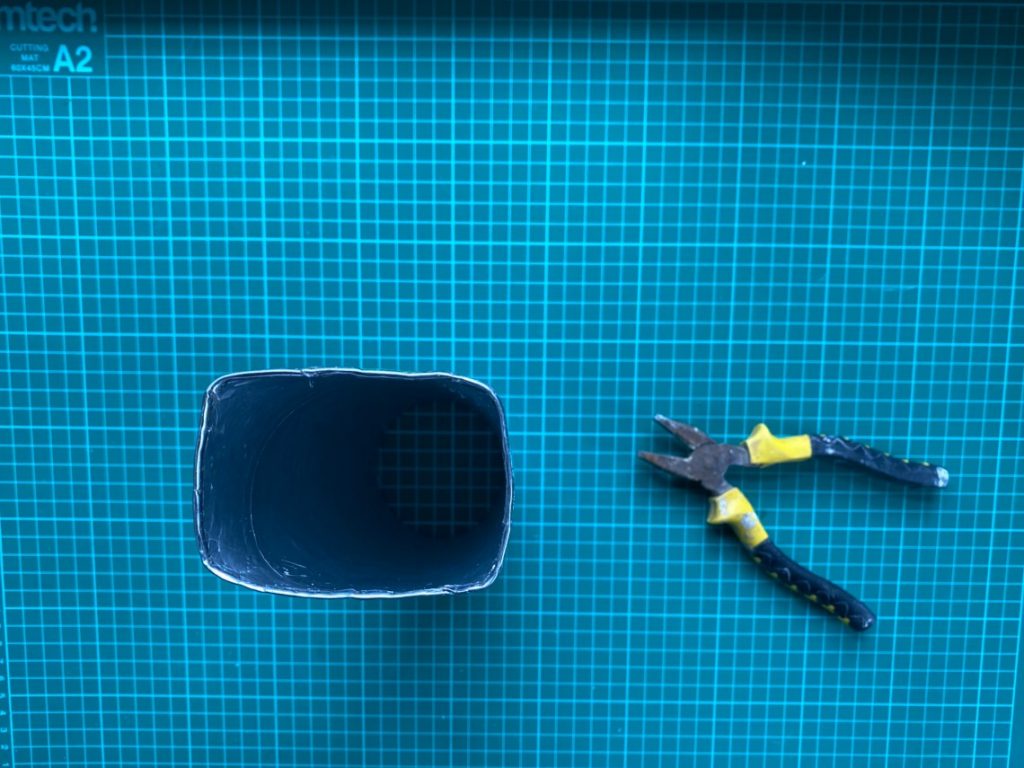
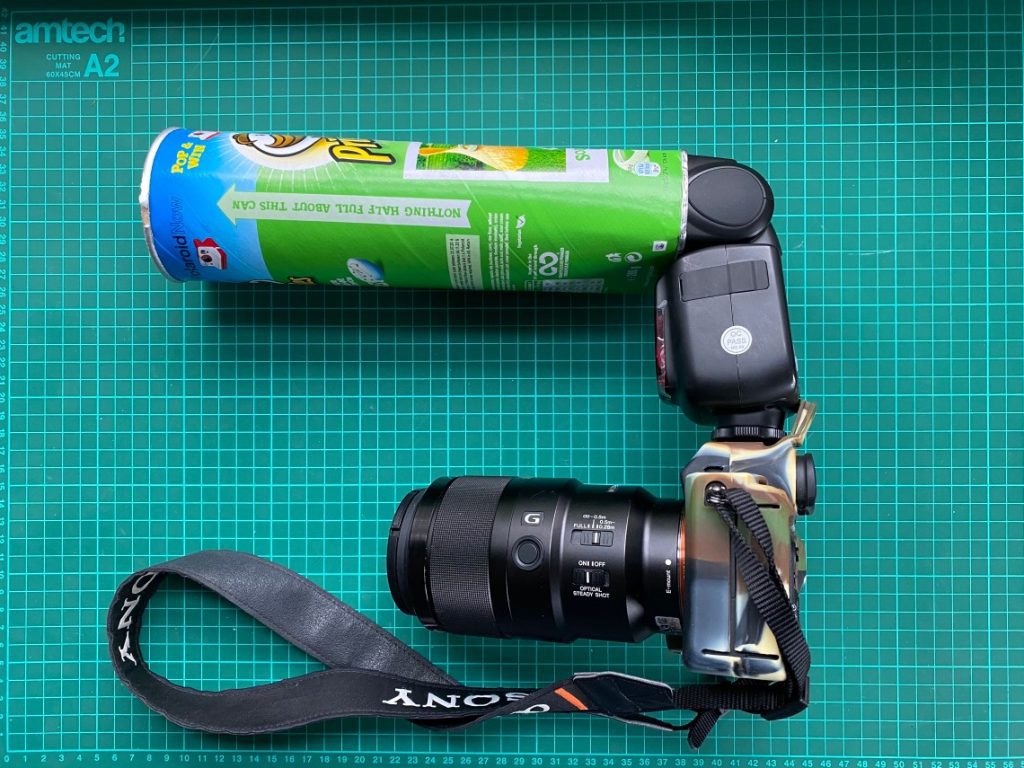
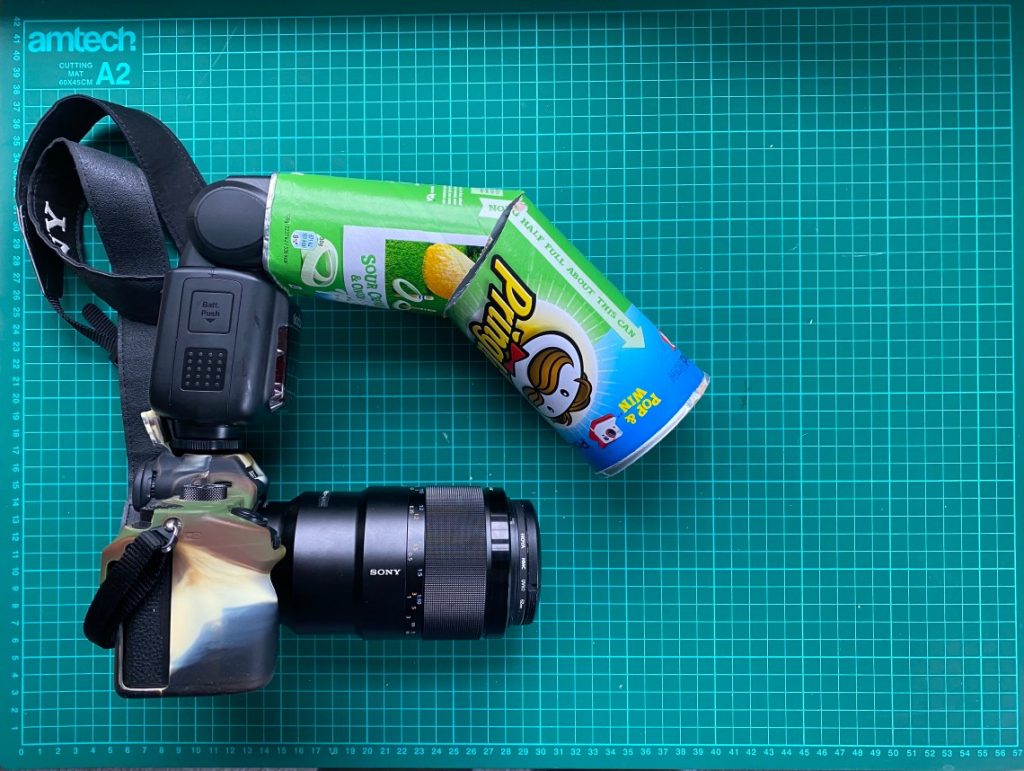
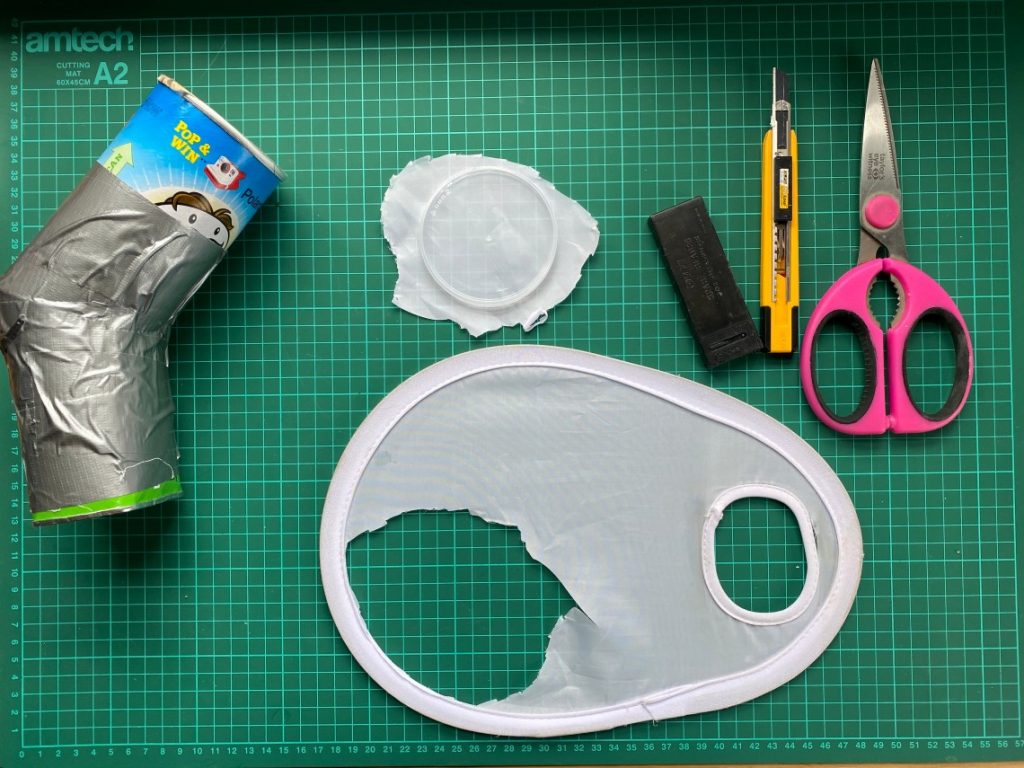
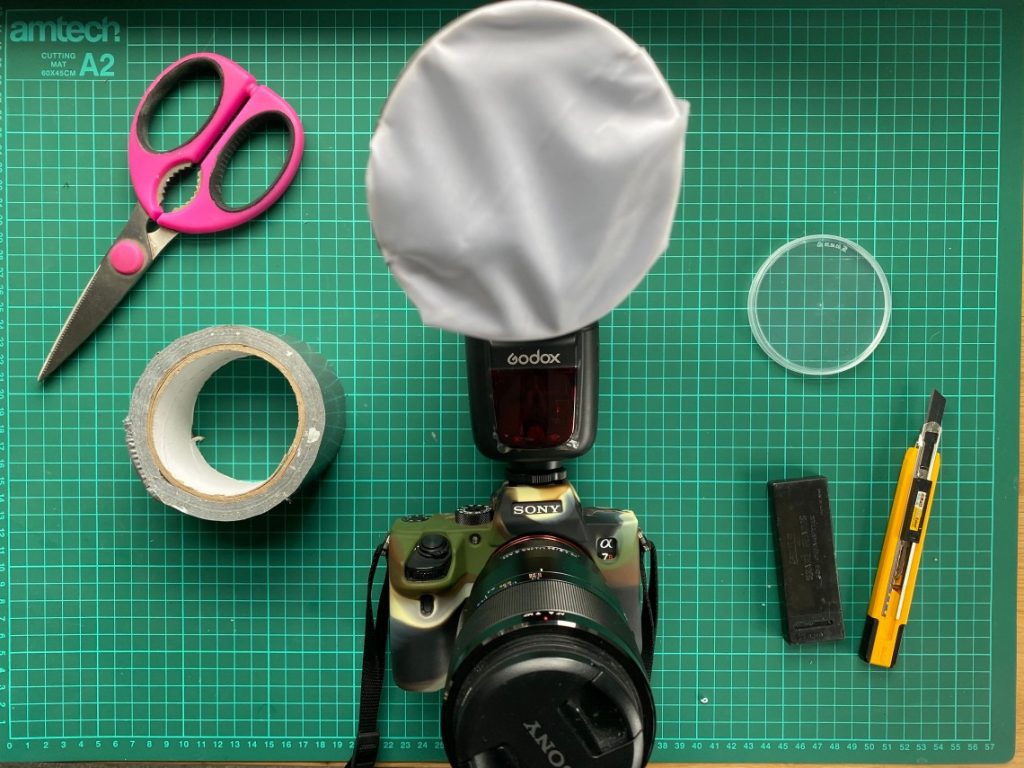
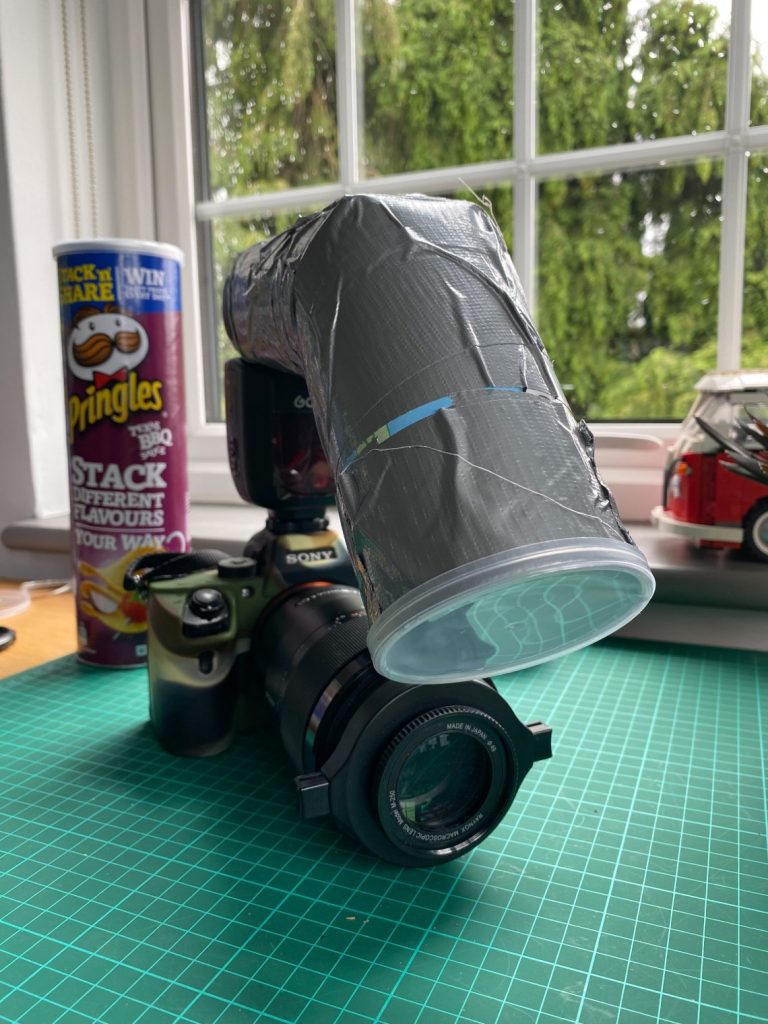
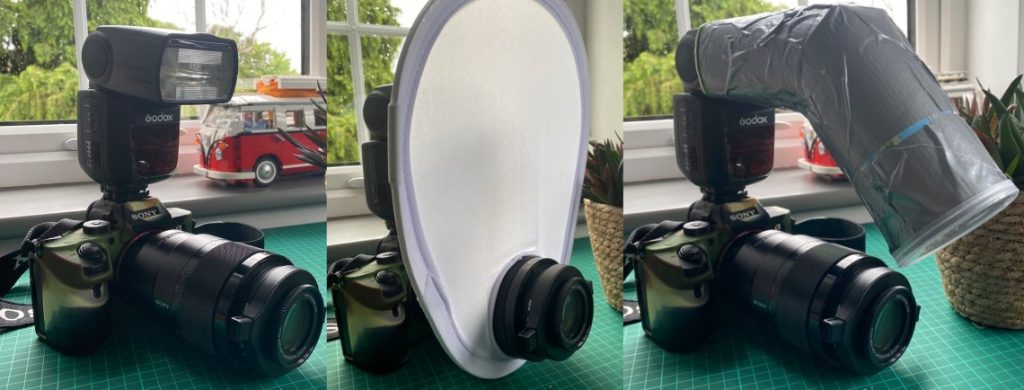
Diffusing light from your flash


You may also like
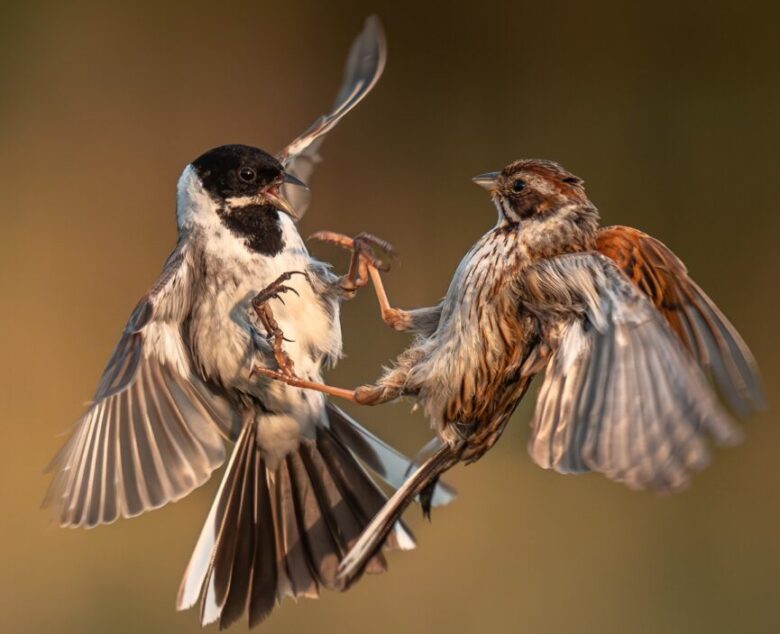
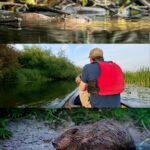
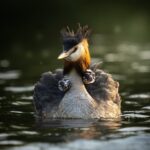
Reed Buntings in the Fields of Yorkshire
There’s something about the stillness of an open field in early spring that always pulls me in. On this recent trip to Yorkshire
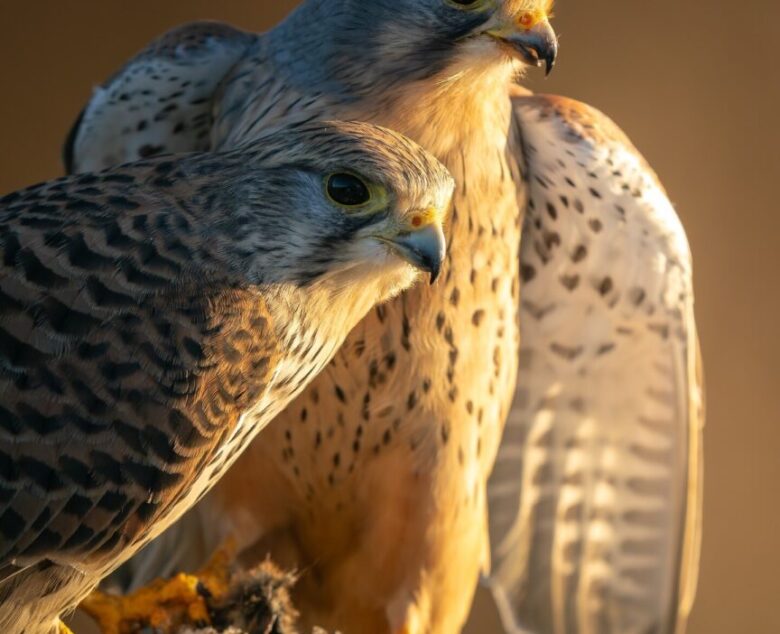
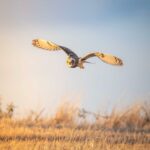
A Winter Morning with the Kestrels in Somerset
Wildlife photography has always been about more than just capturing images for me; it’s about the connection, the stories, and t
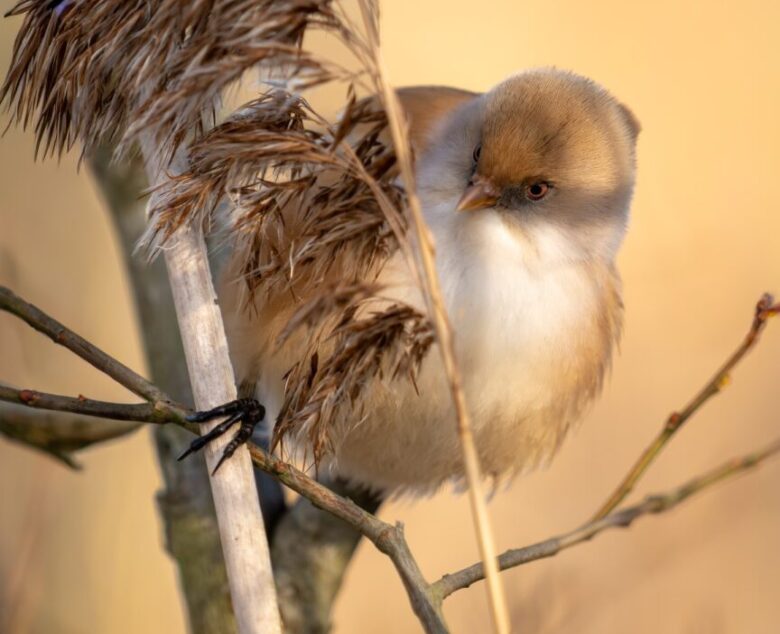
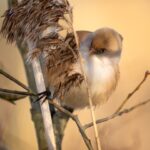
Whispers in the Reeds – Photographing the Bearded Reedling
For the last three mornings, I’ve been at RSPB Leighton Moss from 8am, moving slowly and quietly along the reedbeds, hoping for
Featured Posts

GET SOCIAL
Get in Touch
Find me on Insta